 If you can’t host in-person activities to raise money, fundraising videos are the next best thing.
A video lets you take people visually and emotionally to the front lines of your nonprofit’s work so they can see for themselves the good work you do.
The really nice thing is that your fundraising videos don’t have to be professionally produced to be effective.
With a few good tips (shared below), you can use your smartphone to record a good video that shows your supporters and prospects what your nonprofit’s mission is all about.
Now, I know that video is scary for some people, and I get that. I was really intimidated by video at first, too.
But like anything else, the more you do it, the easier it gets.
And once you see the results, you’ll be hooked!
So, there’s really no excuse NOT to do video.
Let me walk you through a few things you need to know to get this RIGHT.
Preparing to Make a Video
Before you push that “record” button, make sure you are prepared so you don’t have to wing it.
Outline your video either in your head or on paper so you know what you want to say.
If you’re new to video or feeling nervous, record the first one knowing you’re going to delete it. It’ll take the pressure off! And honestly, it might turn out good enough that you want to use it!
As you’re planning your video, carefully think about:
 Message. What is the main point of your video? What do you want your audience to take away or do? Even if you’re doing a “live” video from the field, you should have some notes about what you want to cover. It’s very easy to forget a great point or skim over a topic when you’re nervous and have no notes.
- Location/Time of Day. Where are you shooting your video? Will you be right in the middle of the action or in a quiet location? Whether you shoot in a warehouse, in an office, in your car, or standing in a parking lot, take the viewer to your nonprofit’s world whenever possible.
- Wardrobe. Yes, you need to think about what you’ll wear so you look good on screen. Simpler is better. If your organization has branded apparel like a t-shirt or cap, wear that. If they don’t, wear something conservative and single-colored. Busy patterns don’t show well on video, and it’s not professional to wear anything revealing. You want people paying attention to your words and your images and nothing else!
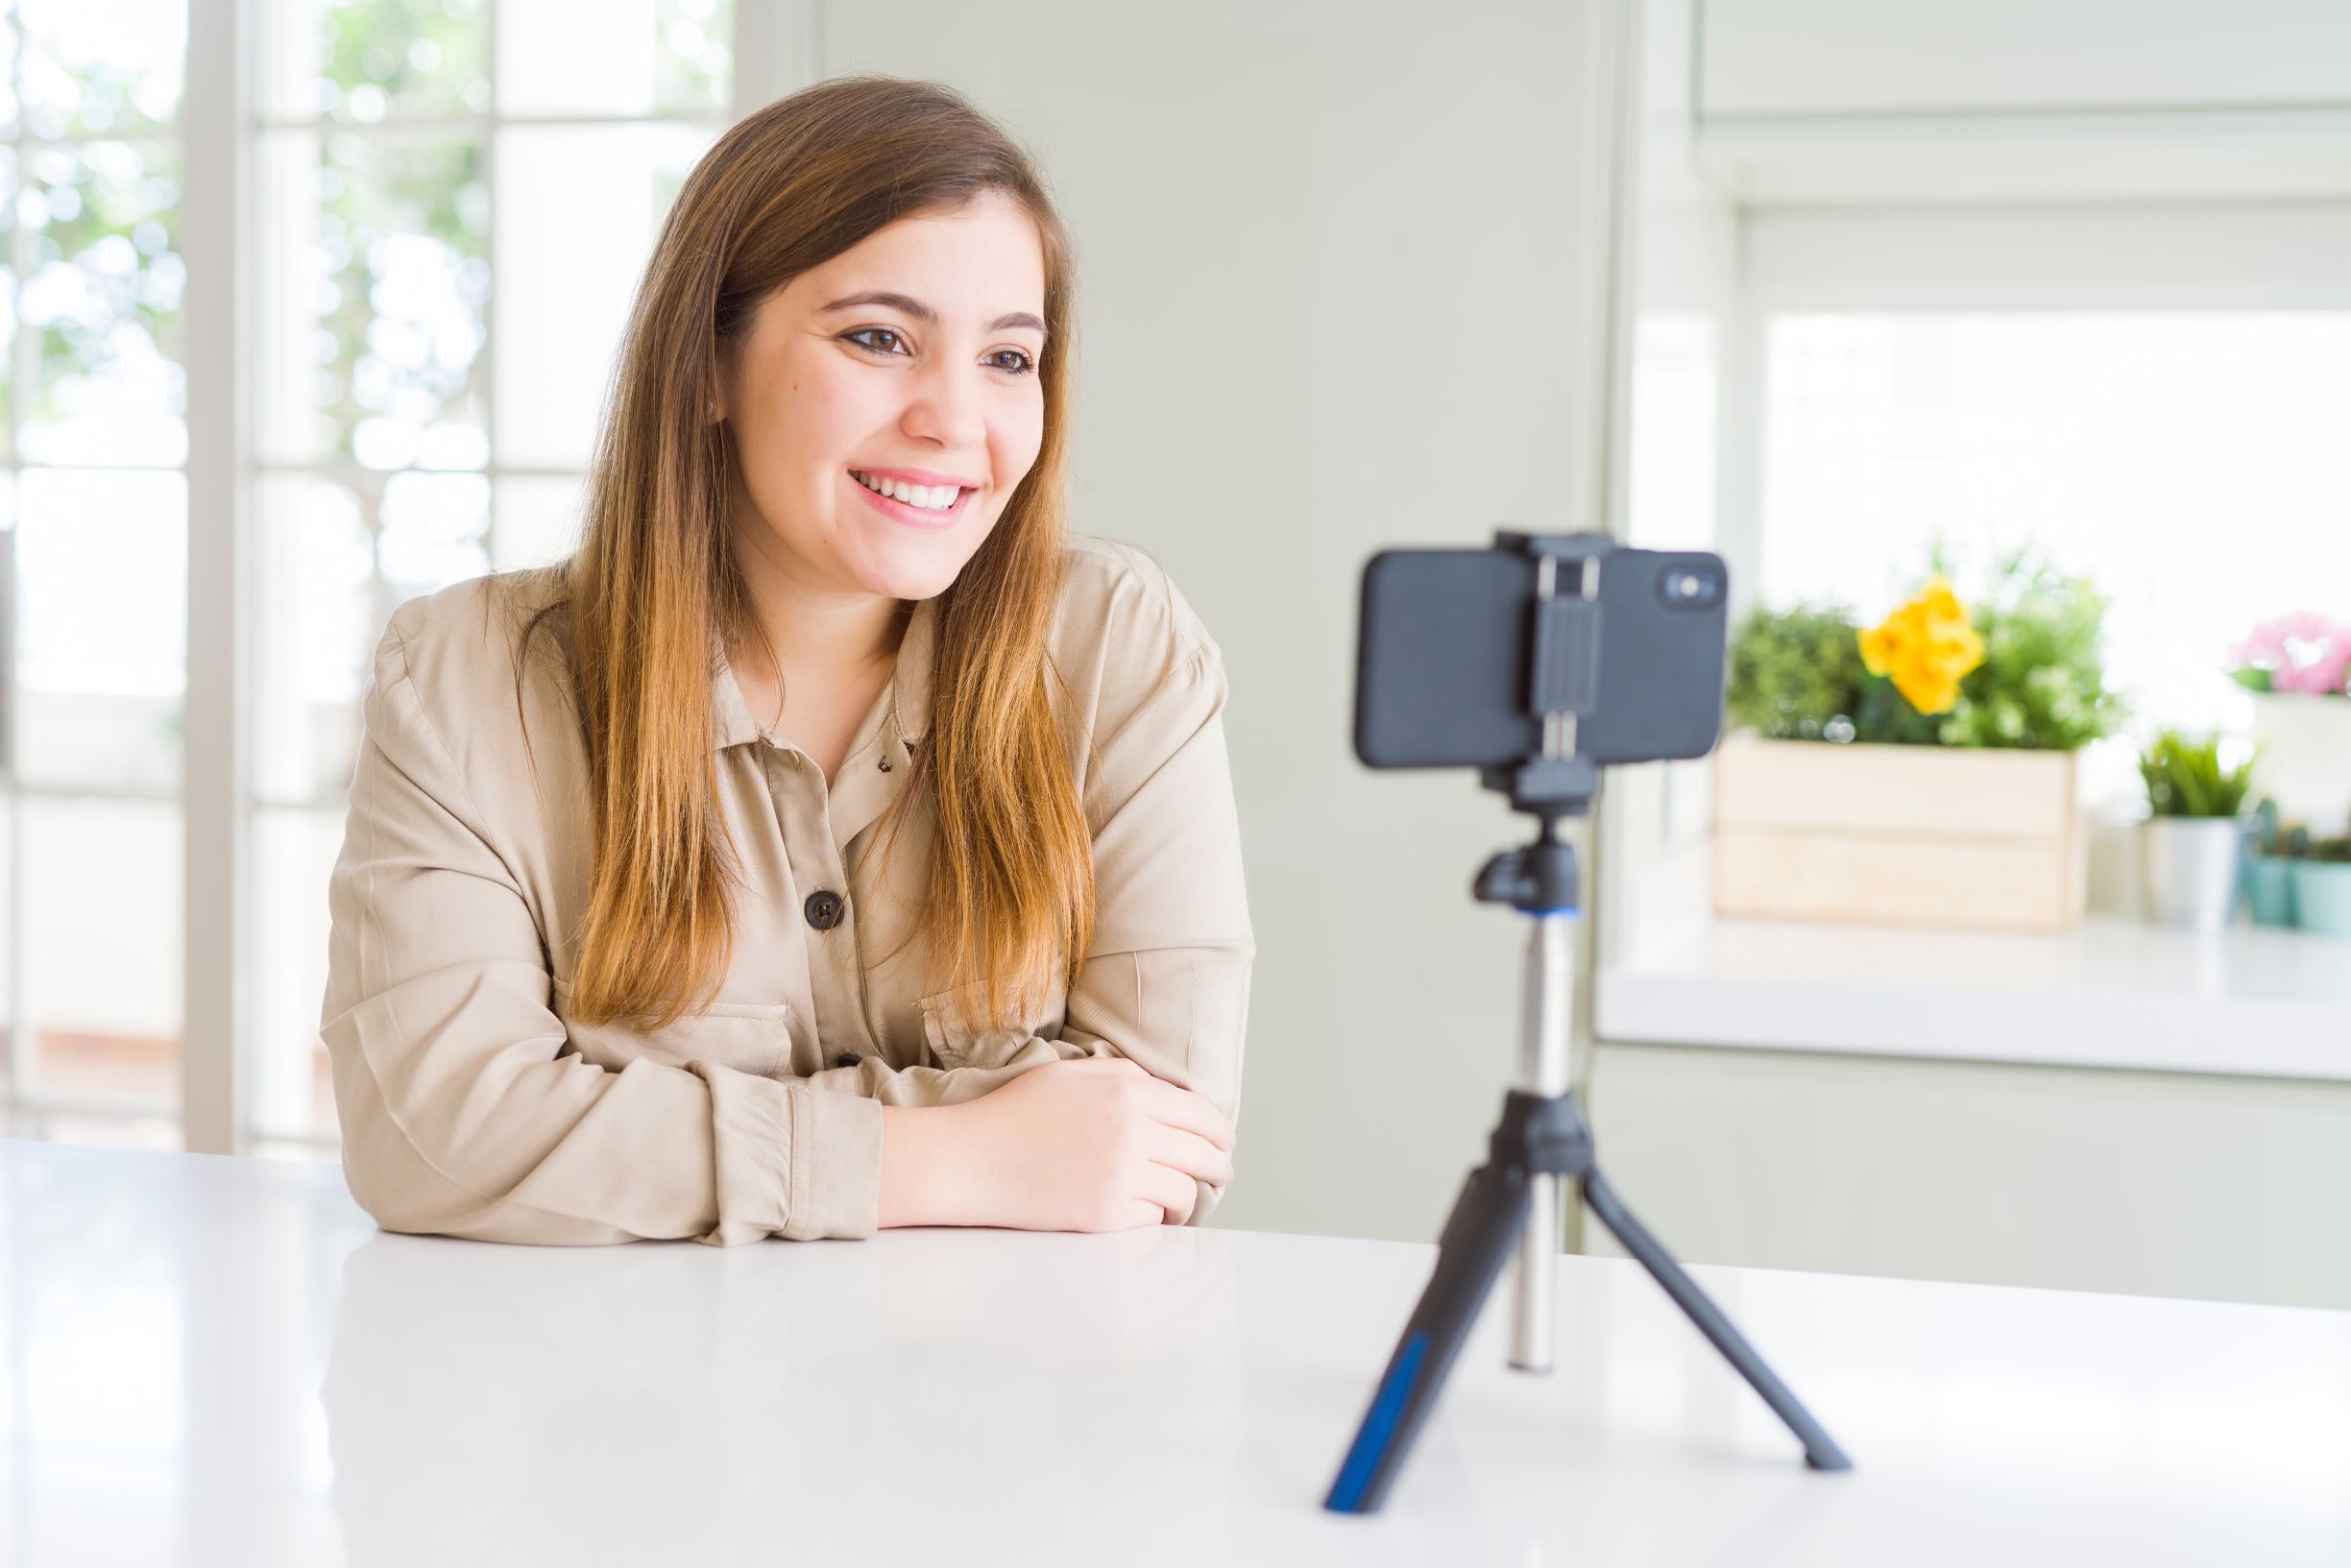
- Camera angle. Will you be shooting your video from a distance? Holding your smartphone while you do a live video? Will you be highlighting others in your video, and how will you record them? You will need a tripod or a stand to keep your phone steady.
- Lighting and sound. Your fundraising videos don’t have to be professionally produced, but you do need good lighting and sound. Keep the sun or lights on your face, not the back of your head, so you don’t get weird shadows. Try to eliminate all background noise and use a microphone if possible. Poor lighting and sound can cause people to stop watching your video, and we don’t want that!
Dress Rehearsal
Ok, you have your content outlined, you’ve chosen the location, you’re wearing your organization’s t-shirt, and you have your tripod ready!
Now it’s time for a trial run to test the lighting, sound, and everything else — including what you’re going to say when you ask for money!
If you’re featuring others, make sure they attend the dress rehearsal so that you can work out any transitions, introductions, and timing.
Get everyone in place, push the record button, and start filming!
No one will see this one — it’s just a dress rehearsal to make sure there’s nothing in your teeth, no toilet paper on your shoe, and no one photo bombing in the background.
If you are filming anyone else in your video, like people who use your programs, make sure to get their permission (or parents’ or caretakers’ permission if you want to feature a child in your video) in a signed video release. You can find many generic video releases online.
Treat a dress rehearsal like the real thing. Wear what you’re planning to wear, do it in the place you’re planning to at the time you’re planning to, and cover your entire message.
Pretend like it’s the only take you are doing so you can see exactly what the final project will look like.
Review Process/Editing
 Once you’ve recorded your “real” video (the one AFTER your dress rehearsal), it’s time to sit back and watch the video(s) you have created.
Pay attention to every detail so you can make it as good as possible!
Now is the time for you to really look at YOU. Are you fidgety? Saying lots of “um’s” and “”so’s”?
Is the camera at a flattering angle, and are you satisfied with your appearance?
Are you blinking a lot? Coughing or clearing your throat?
Are you making weird facial expressions? Tightly folding your arms and appearing closed off?
Now, close your eyes for a moment and just listen. Is your voice clear and easy to understand? Any background sounds that are interfering?
Open your eyes again! This is a video after all. How’s your clothing? How does the environment translate on the video? Are you showing what your viewers want to see? Are you letting them into your world?
How do you feel about your message now that you’re hearing it played back? Are you placing emphasis on what you wanted to?
Are you engaging and easy to listen to? Are you using inflection in your voice so you don’t sound flat or monotone?
Some things can be edited out and sometimes, you just need to reshoot the video.
Make it as good as you can without going into perfectionism mode. Remember that done is better than perfect.
Troubleshooting
Here are some fixes for many of the most common problems people have with video.
| Problem | Solution |
|---|---|
| Too dark, too many shadows | Change the lighting. Lighting should be in front of your face, not behind you. You can also change the time of day you shoot to maximize natural daylight. |
| Sound is muffled | Use an external microphone; if you’re already using one, make sure it’s not under your hair or clothing. |
| You’re fidgeting | Find something to hold in your hands. Even if it’s just a paper clip or a pen, having something to hold will lessen your tendency to fidget. |
| Facial expressions or blinking too much | This is just a matter of practice making perfect. It’s difficult to alleviate these habits if we focus on them too much, so just try and be mindful of these moving forward. |
| Lots of “um’s” or rambling | Review your notes and practice the speaking portion again until you have it down to a science. |
General Video Tips
 Keep your recorded video short — no longer than 5-7 minutes. Live videos can be longer as long as the content is interesting and you can hold your audience’s attention.
- Always shoot your videos with your smartphone held horizontally. This plays better on YouTube and Social Media.
- Always introduce yourself at the beginning of each video.
- Selfie mode on your camera is needed for Live Videos. Be aware that text displays backwards in selfie mode, so don’t hold up written materials to the camera (unless they’re printed in reverse order!).
- It’s a good idea to invest in a tripod or selfie stick and a microphone to create a more polished product. These are very affordable on Amazon.
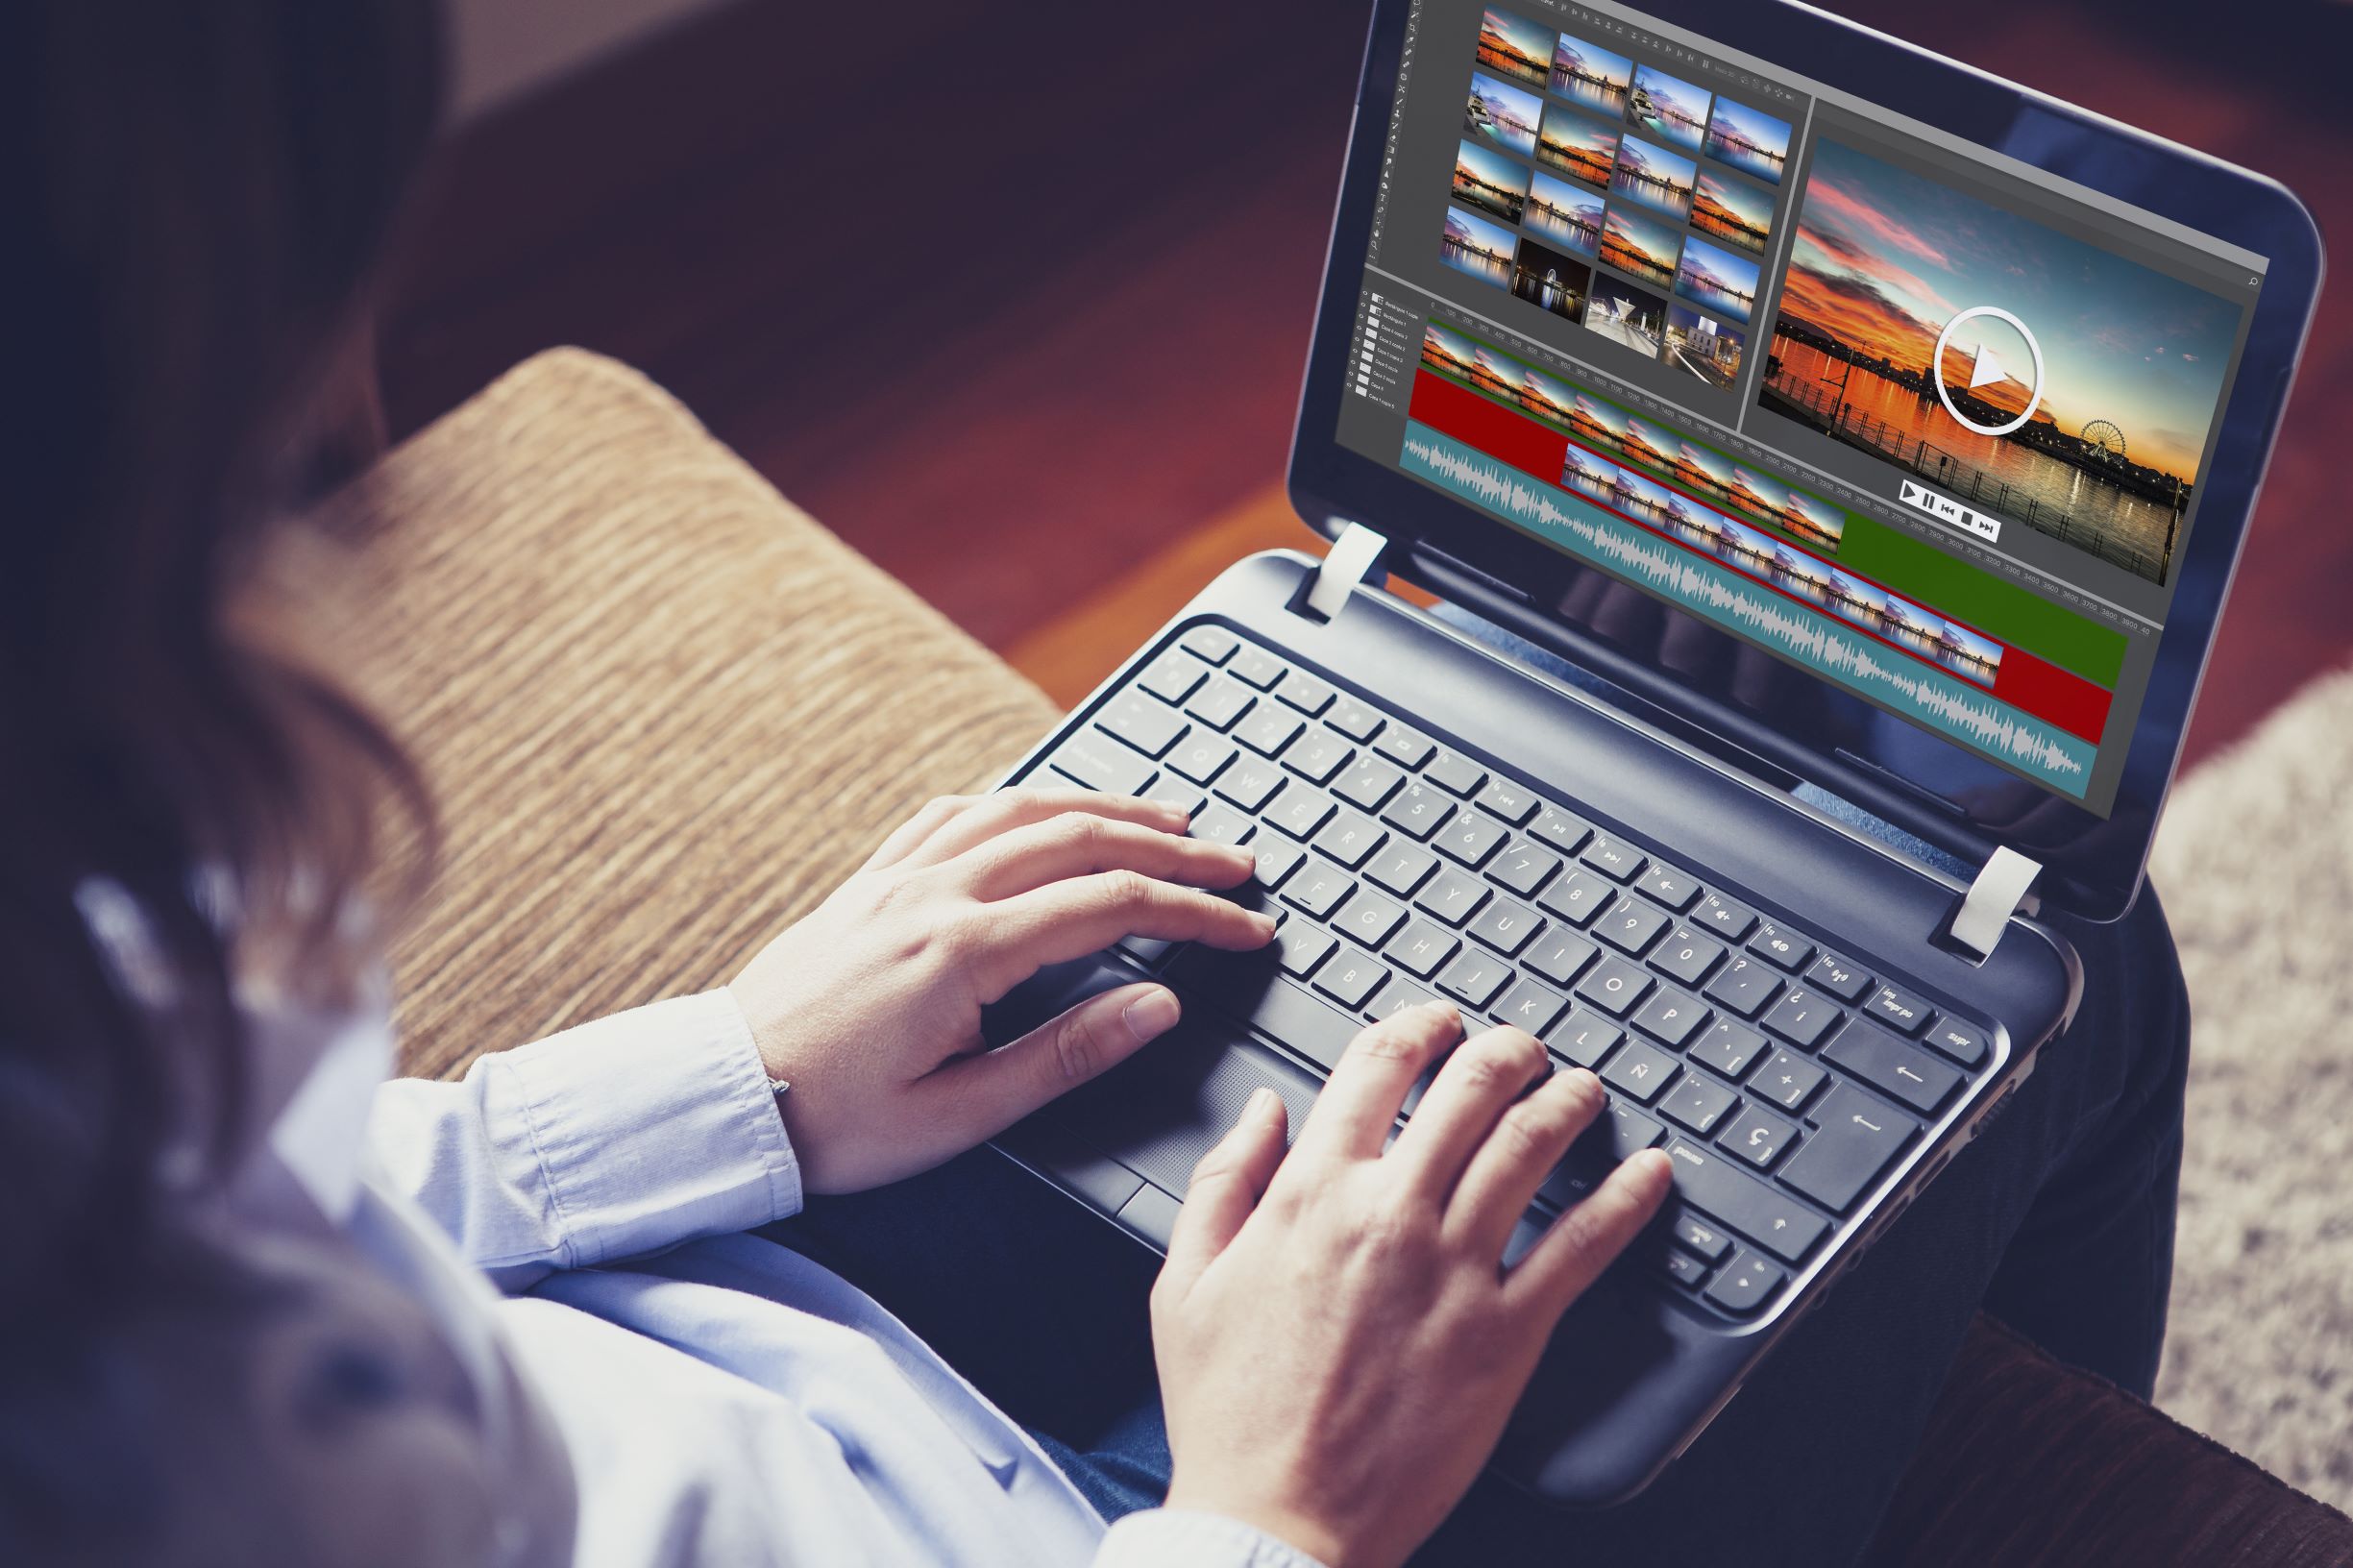
- If you’re not doing a live video, you can easily edit your videos and add photos, captions, and other items into your video. Simple editing programs for your smartphone include iMovie and WeVideo.
- If you ARE doing a live video, spend the first 1-3 minutes small talking while you explain to those tuning in that you’re just waiting a couple of minutes for any last-minute joiners.
- Look at the camera, not at yourself on the screen.
- When you ask for money, be confident. Look directly at the camera and make sure you can ask without stuttering. Tell people exactly how you want them to give and provide a short link to make it easy.
- HAVE FUN! Perfect isn’t required. Be yourself. Videos really do get easier the more you do them!
Distribution
Once your video is done, it’s time to get it out into the world!
Depending on where you are sharing the video, there are more effective ways to get as many viewers as possible.
Facebook and Instagram both like “native” content, which means uploading the original video directly to that platform instead of sharing a link to a video from YouTube or somewhere else. Facebook doesn’t play nice with YouTube, so you will get more visibility posting your video directly to your page.
YouTube is quite effective as a place to share video. You can send links to your email list, post them on your website or add them to your newsletter. Additionally, if you have optimized your YouTube channel, you will get lots of viewers as a result of YouTube search engines. YouTube and Google are great friends, so optimizing your YouTube channel will help you pop up in more Google searches too.
Email. You can easily upload your video to YouTube then embed it in an email to send to your whole donor list or just a segment.
Analytics
So, how do you know if your fundraising videos are working?
Watch your numbers.
Pay attention to see if donations rise in the following days.
Check your email open rates and click throughs.
Count your social media interactions and shares.
The proof is in the results, and you’ll know pretty quickly if you are resonating with your followers.
It’s all a learning process, so use every analytic piece of information as a tool to learn more about what your viewers want.
That’s a Wrap!
 Videos are an important and effective tool to share your message and should be part of your annual fundraising plan.
Videos say what photos and text can’t. They have the power to transport your viewer to another place with you and see for themselves why your organization needs their help.
Get comfortable with seeing yourself on video, pay attention to what your viewers want to learn more about, and then deliver it to them so you can see the increase in support you’re looking for. ????


I’m trying to make a video, I already posted pictures and the story on f/b how do I make an effective video.